Request a quote
Get a Quote for Engine Filters
Email and phone are required. Leave anything you don't know blank.

Published
A generator fuel filter replacement starts with identifying the correct element, and that comes from two records: the engine build and the number printed on the filter you are removing. The generator model and its kVA rating identify the machine, not the filter.
That rule is where most generator how-tos go wrong. They show you how to unscrew a filter and spin a new one on, and they assume you already have the right element in your hand. Get that assumption wrong, and a one-hour service turns into a second repair, or into a set that fails when it is needed.
Kofi, a site supervisor, learned this on a standby set he was told to “just service the generator.” The parts supplier asked for the generator model and sold him a filter to match it. The set ran after the change, then lost power under load. The element was the wrong stage for the engine build, sold on a kVA rating that never identified it. The number on the element he had removed, and the engine serial he was never asked for, would have caught it before the wrench came out.
This guide is for engine-service filtration on standby and prime generator sets powered by Cummins and Perkins engines. It covers what to confirm before you start, the replacement sequence, and how to end the job with a filter you can defend, not one you are hoping is right.
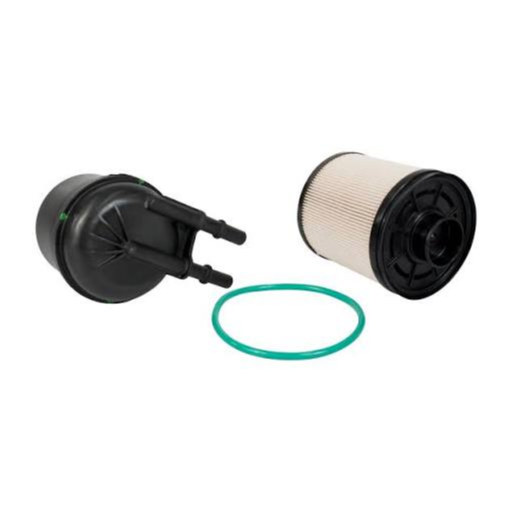
The central claim is worth stating in one sentence. A generator is identified by its model name and kVA rating. The engine that powers it is identified by its maker, model, and full serial or build number. The filter is identified by the number printed on the element. These are three different records, and the first one does not find the third.
Generator output in kVA belongs to the power side. A filter has no kVA rating. Searching “Cummins 500 kVA generator filter” will not reliably return the element, because the same kVA band can be delivered by different engine builds, each with its own filter arrangement. Treating kVA as a filter attribute is the same error as treating the generator model as one.
The same generator model designation can carry different engines across production years, and the same engine model can carry different filter arrangements across builds. The maintenance schedule and the parts record are both indexed by engine build, not by generator model. That is why the engine data plate, not the generator nameplate, is the record that matters.
One rule ties the section together, and no generic how-to states it: a listing that says it “fits your generator” is a candidate to review, not a fitment. The engine build and the number on the removed element are what confirm it. If you are planning the wider service rather than this single task, the generator set engine filters page covers duty cycle and the full service set.
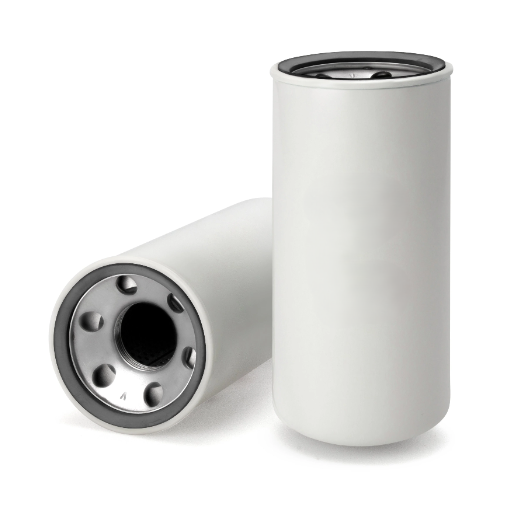
The identification step is the one every generic how-to skips, and it is the whole point of doing the job right. Before you touch a wrench, collect four records.
Where two records disagree, send both. The disagreement usually identifies a supersession, a build variation, or an element that was fitted from the wrong specification last time. It is useful information, not an error.
Here is the sequence in full. Read it as the shape of the job, not as a universal recipe. Every specific value in it, from the final turn on the seal to the number of primer strokes, belongs to the manufacturer’s procedure for your build.
Two cautions sit inside the sequence. First, the pre-fill question is genuinely contested: some manuals say fill through the centre hole, others the outer holes, and others say do not pre-fill at all. Do not pick one from a forum. Follow the manual for your build. Second, the priming method differs by engine, from a hand primer to an electric lift pump to an ignition-cycle purge. That is why the step cannot be written as one universal instruction.
Compliance note: every procedure value in this section, from torque to pre-fill direction to primer strokes, is read from a manufacturer or generator-OEM manual for your build. No universal torque, pre-fill rule, or interval is published here. Where a manual for your build is available, it overrides anything a generic how-to says.
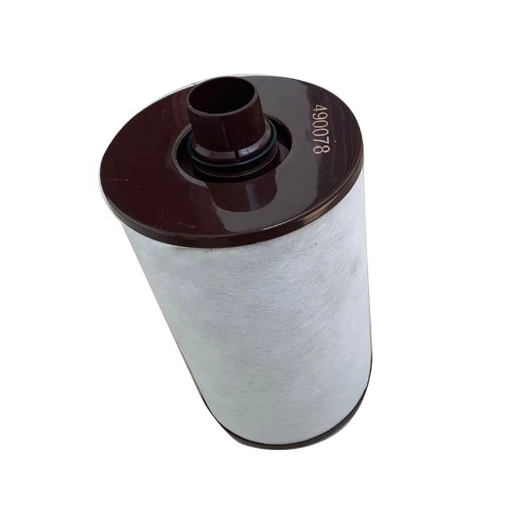
A generator buyer changing “the fuel filter” is often holding one of three different elements, each with its own number.
The number on each is different, and changing the wrong one does not fix the problem. Fleetguard’s guide to multiple fuel filters explains why a modern diesel runs more than one stage. If you need the position distinction in full, the primary vs secondary fuel filter guide covers it; here the point is the job.
Mina serviced a prime-power set and changed “the fuel filter” without checking which element she had pulled. She replaced the final-stage element while the separator upstream, half full of water, stayed in place. The new fine element went straight to work on fuel that had never been separated. She had done the physical task correctly and fixed nothing. Confirming the installed position before ordering the replacement is the difference between one service and a second one.
On generator sets, there is one more wrinkle. The upstream separator is sometimes supplied by the genset packager, not the engine maker, so the engine parts record can look complete and still not list the element you are holding. When the engine record and the element in your hand disagree, check the packager’s list or read the number off the old filter. For the element that handles the water side, the Cummins fuel water separators page covers the separator on its own.
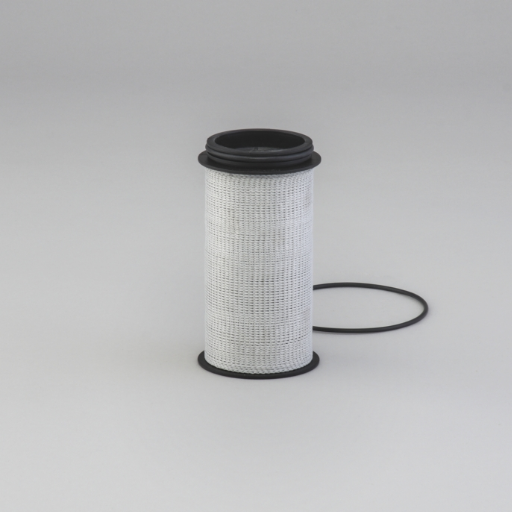
The replacement is triggered differently by duty, and the confirmation route is the same.
| Duty | How the engine runs | What triggers the change | What to confirm |
|---|---|---|---|
| Standby | Few hours a year; fuel sits and degrades | Calendar-based, annually even if hours are not reached, plus fuel-quality checks | The build, the position, and the number of the removed element |
| Prime/continuous | Hours accumulate | Operating-hours threshold per the engine schedule | The same three records |
Stored diesel oxidises and grows microbial contamination, so a standby set can plug its filter while barely running. Perkins’ standby guidance makes the point directly: the calendar, not the hours, is the trigger. Turnkey Industries’ interval breakdown shows the same split between the OEM schedule and standby reality, and notes that a filter should be replaced per schedule rather than judged by eye, since particulate loading is invisible from the outside.
The hours-or-calendar framework in full belongs to the diesel fuel filter replacement interval guide. Here the point is that the trigger changes, but the three records you confirm do not.
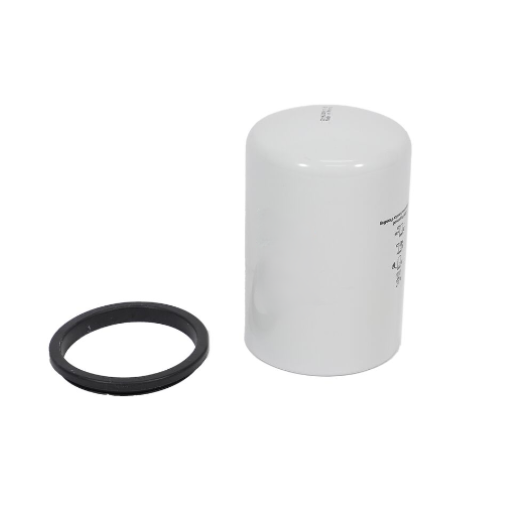
The arrangement is build-specific, not model-specific. The same engine model can carry different filter arrangements across builds, so the number is read from the removed element and confirmed against the parts record, never guessed from the model badge.
That holds across the engines this site serves. Cummins B-series and common-rail QSB/QSL/QSX builds, and Perkins 1100/1200/2000 series engines, all carry a schedule and a parts record per build and per position. We name no part number here, because a number is only useful when it is verified against a manufacturer record for the build in front of you, and no part number on this site is published until it has been.
The discipline is the same on both families: the element you need is found by the build, the position, and the number of the old filter, not by the badge on the enclosure. When you are ready to confirm the element, the Cummins fuel filters and Perkins fuel filters categories set out the stage arrangement for each family.
How do I change the fuel filter on a generator?
Record the engine build and the number of the old filter first, then drain the separator, remove the old element, install the new one, prime and bleed the system, and check for leaks, each step per the manufacturer’s manual for your build.
Do I need the generator model to order a fuel filter?
No. The generator model and kVA rating identify the machine, not the element. The engine build, meaning the maker, model, and serial or CPL number, plus the number printed on the removed filter, identifies the element.
What filters does a diesel generator need?
Fuel, oil, air, coolant, and usually a fuel/water separator, identified by the engine build rather than the generator’s kVA rating. Confirm each position against the parts record for the build.
Should I pre-fill a fuel filter before installing it?
Follow the manufacturer’s manual for your build. Pre-fill direction, and whether to pre-fill at all, differ by engine and lift-pump type. Priming and bleeding the system afterwards matters more than pre-filling.
Why won’t my generator start after I changed the fuel filter?
Usually, it’s air in the fuel system. Prime and bleed at the filter housing and injection pump per the manual until fuel flows air-free, then retighten and check for leaks.
Need help confirming a filter? Send the engine build, complete part number and quantity for review.
Request a Filter Quote